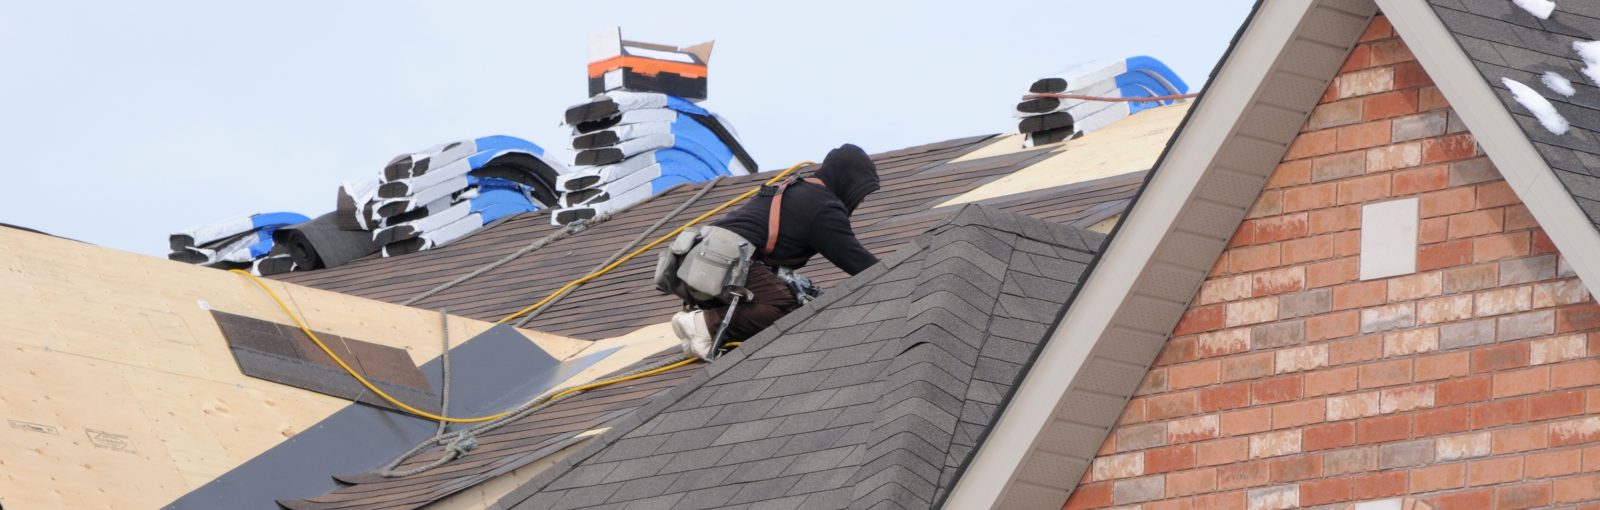
Fixing a leaking roof isn’t rocket science – if you know what you’re looking for. Detecting the source of a leak in the first place may be the most difficult aspect of repairing a leaky roof.
Finding a Roof Leak
Finding the actual location where a roof is leaking is difficult. Water may seep through a roof in one spot and run down before it drips through a ceiling.
Yet finding even the smallest leak in a roof is critical since early leak detection can prevent an entire roof from going bad. Experts recommend assessing a roof first of all to determine where a potential leak could be located.
According to a case study done on Minneapolis homes by Kuhl’s Contracting Incorporated, roof leaks can commonly occur in the following areas:15
- Ridge: Watch for uplifted or loose material.
- Vents: May leak due to damage from animals, storms, or poor installation.
- Valleys: Very unlikely to leak in this area.
- Plumbing or HVAC Vent Pipes: May leak in both cold and warm seasons.
- Rake Edge Roofing Material: May cause leaks inside the house from wind-driven water.
- Windows: Window leaks may be caused by roof leaks.
- Step Flashing: May leak due to improper installation or wind-driven rain.
- Bathroom/Kitchen Vent Hoods: May leak due to poor installation.
- Dormer Flashings: May leak if flashing is not properly installed behind siding.
- Gutters: Full or improperly sloping gutters may leak water into a home in winter or summer.
- Chimney Caps: May leak through onto ceilings or walls.
- Chimney Siding: Water can leak through wood or stucco chimney siding to drip onto a ceiling.
- Flue Penetration Joint: May leak water into a home due to poor sealing.
- Saddle: Leaking is very common.
- Step Flashing Along Chimney: May leak often due to wind-driven rain.
- Uncapped Furnace Flues: Will leak water directly down a flue.
- Storm Collar: May leak because of failed caulking after 10 years.
- Cone Flashing: May leak around the base of furnace flues on rare occasions.

For more serious roof leaks, it is important to call in the professionals for help. However, if you’re able to quickly detect the source of a roof leak in one of the many areas listed above, you can repair the roof yourself with the help of a ladder:
Steps to Fixing a Roof Leak
Step 1:
Crawl into your attic wearing the appropriate safety gear.
Step 2:
Locate the source of the leak based on dripping water or discolored, stained wood.
Step 3:
Wearing non-skid shoes, use a ladder to climb onto the roof.
Step 4:
Locate the leaking area of the roof above the stains in the attic.
Step 5:
Evaluate roof flashing around chimneys, valleys, walls, and skylights for gaps, cracked caulking, and loose nails.
Step 6:
Remove corrosion and dirt from damaged flashing with a wire brush; reattach loose nails, if necessary, with a hammer.
Step 7:
Scrape old caulking from around flashing with a metal scraper; use a zinc-based primer to spray flashing with a protective coating.
Step 8:
Allow the primer to dry and spray two coats of rust-resistant metal paint over flashing.
Step 9:
Once each coat of metal paint dries, use a putty knife to apply urethane roofing cement in gaps between shingles and flashing.
Step 10:
Smooth roofing cement with a putty knife and allow to dry completely
Professional Roof Repair
Need help fixing your roof leak? A & J Reliable, Inc. offers 24/7 roof repair services all throughout the tri-state area, including New Jersey and New York. As one of the leading roofing contractors in the industry, we’re dedicated to saving our customers money by solving small problems before they become costly replacements.
For more information on our roof repair services or to schedule a free inspection to get your roof evaluated, please contact us today.