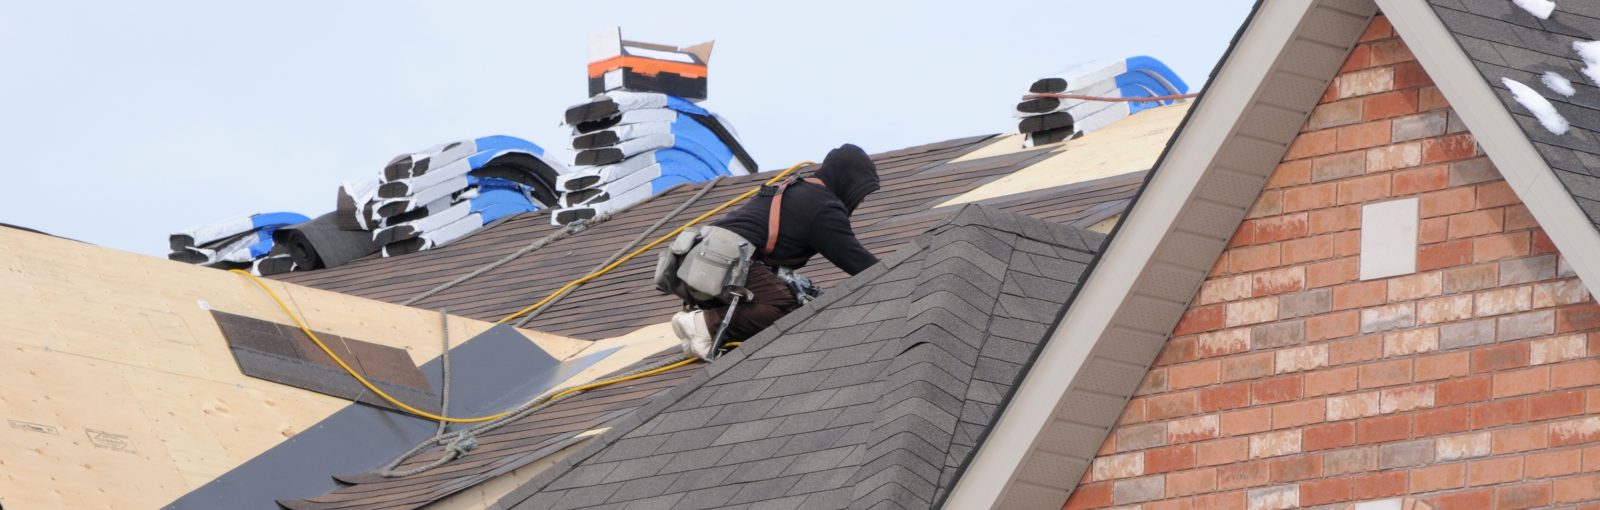
For residential use, plywood is an economical and efficient building material that can be used as an alternative to traditional lumber. In a patio roof, plywood will be used primarily for reinforcement and bracing.
After hanging rafters for a patio roof, the next step is to lay plywood over the rafters using these helpful guidelines:
- Work from the bottom up.
 Sheets of plywood canbe applied from the bottom roofeaves up to the roof ridge. All sheathing applied should be perpendicular to the rafters so that plywood sheets will meet in the center.
 - Heed building codes. While residential and commercial building codes will vary, a standard requirement is to nail every 6 inches on roof edges and every 12 inches on the roof field. A chalk line can be used to mark rafters for this purpose. Take care to avoid nailing areas where edge rafters meet sheathing until after an adjoining sheet has been laid; this precaution will provide extra room for movement, if needed.
- Stagger joints. With each course of sheathing, take care to stagger joints by cutting panels in half before application. Half panels can be used to begin each course for proper staggering.
- Check alignment as you go. As you work your way toward the peak of the roof, continually check alignment and end supports. Many contractors prefer to temporarily nail down a horizontal toe board to provide extra bracing for use during additional courses of sheathing.
- Sheath one slope at a time. Once a slope has been sheathed completely, a chalk line can be used to measure slope edges that should be cut at an angle. These panels can be cut before nailing a sheath in place using a circular saw.
Laying plywood over patio rafters will take significantly less time than creating patio rafter framework in the first place. Nonetheless, the job still ranks fairly high in difficulty and may be best suited for professional roofers. A DIY job of this kind may cost you a minimum of $500 in materials.