Depending upon the type of roofing material you choose for your roof structure, installation guidelines will vary greatly. We’re here to provide you with basic guidelines for roof installation. More detailed directions can be found in the manufacturer’s instructions for your roofing materials.
Step 1: Check Material Requirements
Checking the specific requirements for your material of choice is the first and most important step in roof installation. For instance, a shingle or shake may require that a roof deck is constructed from at least 3/8 inch thick plywood or 7/16 inch thick non-veneer.
Shingle manufacturer instructions may also specify that roof nails are inserted at least 3/4 inch thick into a deck of the same thickness. On thinner roof decks, roof nails must be inserted at least 1/8 inch thick through the deck.
Step 2: Gather Your Tools
Basic roofing tools for a DIY job were outlined in a previous chapter. Manufacturer’s instructions for a specific roofing material will be able to provide more detail as to what tools are needed to complete a roofing installation job.
While most roof installation projects will require basic hand tools like a tape measure, hammer, nail bag, chalk, chalk line, handsaw, and caulking gun, tile installation may call for more advanced power tools, like a compressor with hose, a tile saw, a diamond saw blade, a screw gun, and a nail gun – just to name a few.
Step 3: Prepare the Deck
After checking requirements, roof decking must be prepared by applying the necessary underlayment specified by the manufacturer. Many shingle manufacturers will recommend that a layer of shingle underlayment is applied before roofing materials. This additional step will ensure that roof installation meets UL fire ratings.
At this time, vertical and horizontal chalk lines must be drawn to ensure proper alignment for shingle installation.
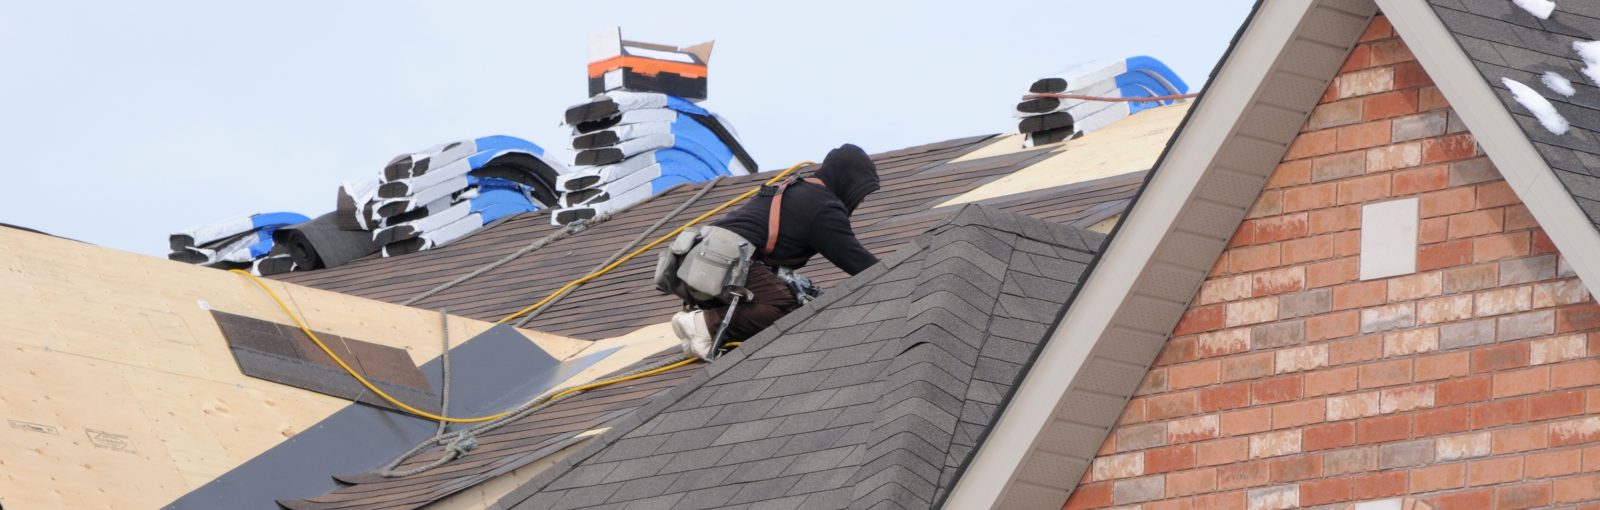
Step 4: Fasten Roofing Materials
Most manufacturers’ manuals will provide you with several options in a shingle or shake fastening pattern. Fastening patterns may also vary based on roof slope.
For instance, a steep slope roof may use a standard fastening pattern for shingles where fasteners are placed 6 1/8 inch from the bottom edge so that both shingle layers can be secured.
Shingles can be applied directly over a prepared roof deck with 6 1/2 inch offset and 5 5/8 inch exposure, per manufacturer’s directions. When installing roofing materials, it is recommended to start at the bottom of a roof and work across and up for the most efficient material blending and application.
Step 5: Install Step Flashing
After shingles have been applied in multiple courses based on manufacturer’s instructions, step flashing must be installed for added protection and moisture resistance. Most manufacturers recommend using 10” x 7” corrosion-resistant metal that will be installed where roof planes meet vertical sidewalls or chimneys.
On lower slope roofs that may encounter water drainage issues, extra step flashing details are critical to ensure that a roofing structure is water-tight. Additional precautions may need to be taken, like installing a slater’s edge on step flashing underneath shingles or applying two lengthwise beads of asphalt cement atop step shingles in a perpendicular pattern.
Step 6: Finish with Hip and Ridge Shingles
The final step in the roof installation process is to conclude with hip and ridge shingle application. For hip and ridge capping, specialized shingle accessories may be used that have their own set of manufacturer’s instructions.
Prior to hip and ridge shingle installation, shingles should be applied directly up to the ridge. Accessory shingles can be fastened with two fasteners at 1 3/4 inch or longer to fully penetrate a 3/4 inch deck, depending on manufacturer’s instructions.
The above roof installation steps are intended to give you a basic guideline to install new roofing materials. The type of materials used will greatly affect the method of roof installation.
During a DIY roof installation job, paying attention to manufacturer’s directions is of the utmost importance. The effectiveness of roof installation can make or break the water shedding ability of a new roof structure to offer additional years of protection and service to a building.